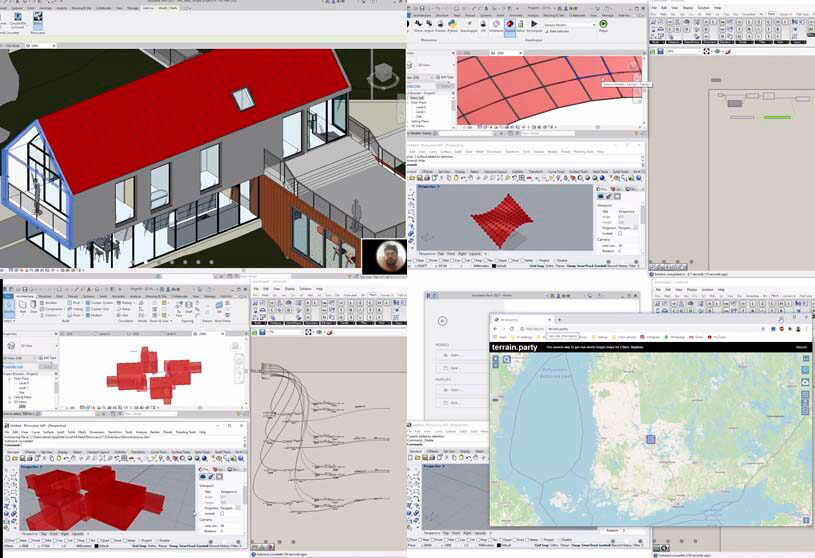
Date: 15 June, 2020
Software used: Rhinoceros 6
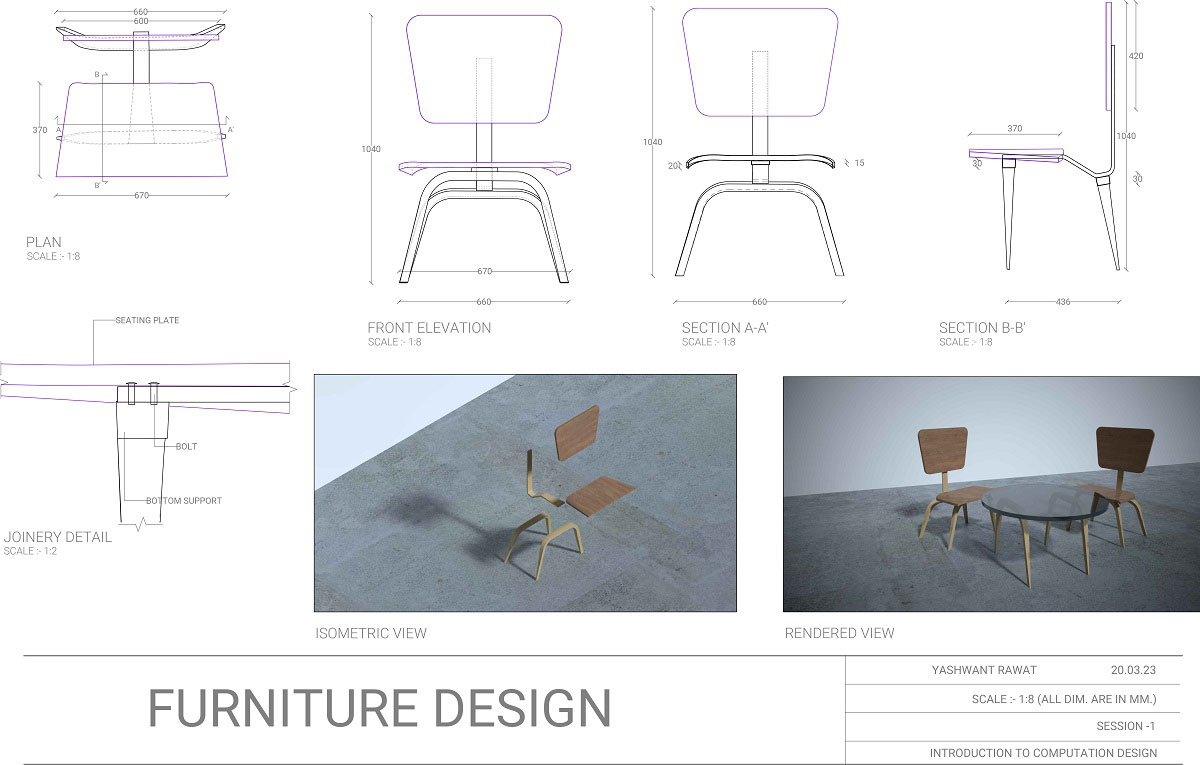
Excersize: The students were given a task to create a furniture for themselves and to make it as detailed as possible. The submission had to include an A2 with the following things:- Plan and 1-2 section(line drawing) Exploded rendered isometric. A detail. (Make sure everything is annotated and dimensions are given where ever necessary.)
As they were using Rhino, they were asked to try out something which otherwise would have been difficult if they were using any other software
Student Name: Yashwant Rawat
Tools Used: Loft ,Sweep 2, Planarsrf, Pipe, Move, Scale,Trim
We learnt about the interface of rhino and basic modelling tools that gave us an idea of workflow for rhino and a base to build upon. Some tools that we learnt in session namely are – move, copy , rotate , scale , Boolean functions, mirror, surface manipulation functions and a little bit of rendering. For the following assignment , I used the same tools and vray for rendering the final product. The final outcome was then taken to layout and arranged in a presentable manor as taught in the session.
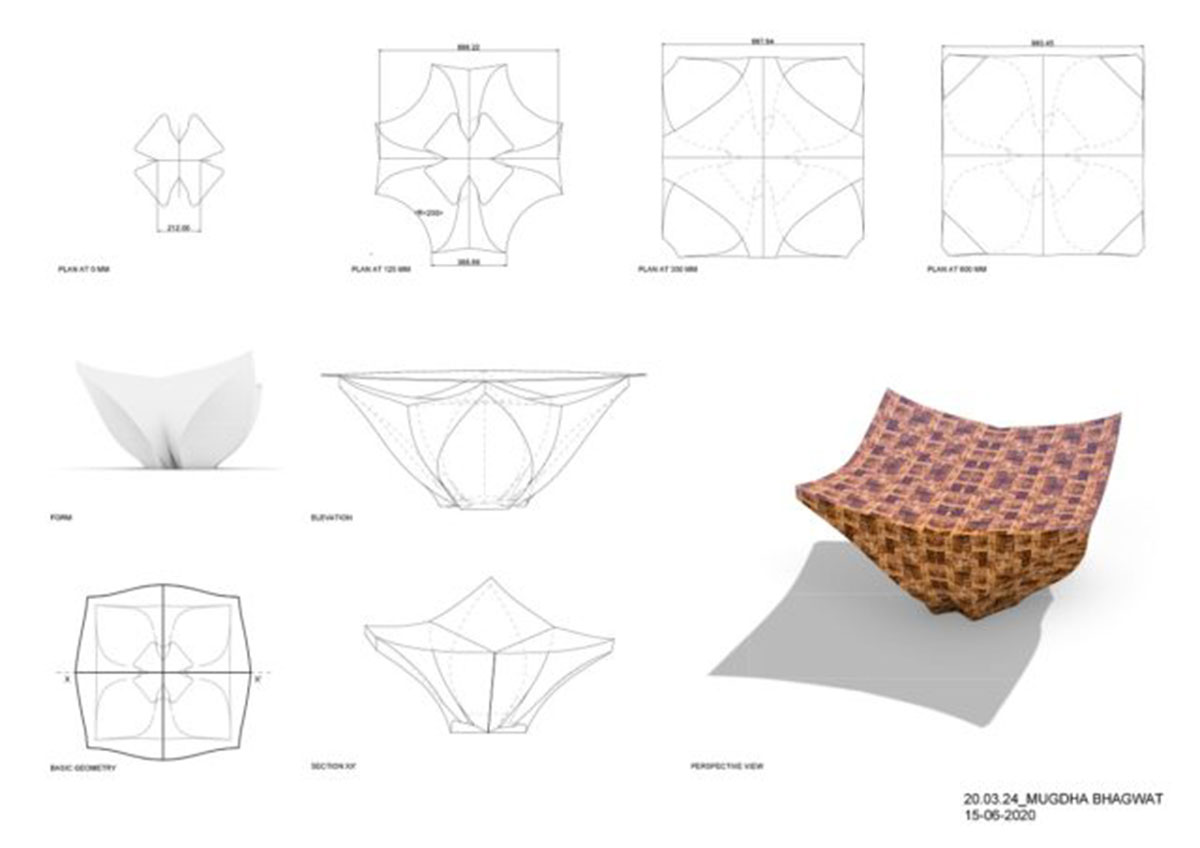
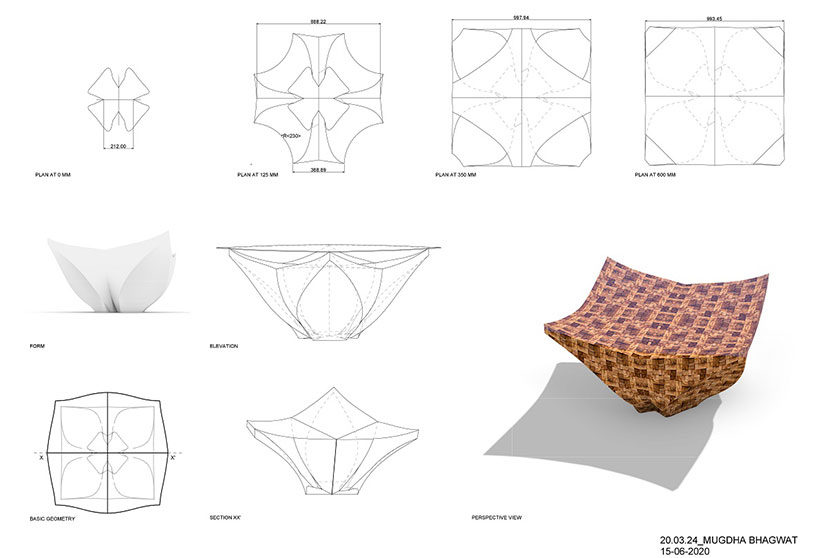
Student Name: Mugdha Bhagwat
Tools Used: Solid , Boolean Difference , Cage create , Editmirror , Extrude , Material.
The modelling of this table design was done in following steps:
For 1/4th part of the table base:
- Cube
- Sphere
- Boolean difference
- Cage create and editMirror- twice to get full table.
- Material by picture and
- Then mapping.
For 1/4th part of glass:
- Rectangle
- Extrude
- Cage editMirrored twice and apply glass material
- Turned on sun and
- Then rendered.
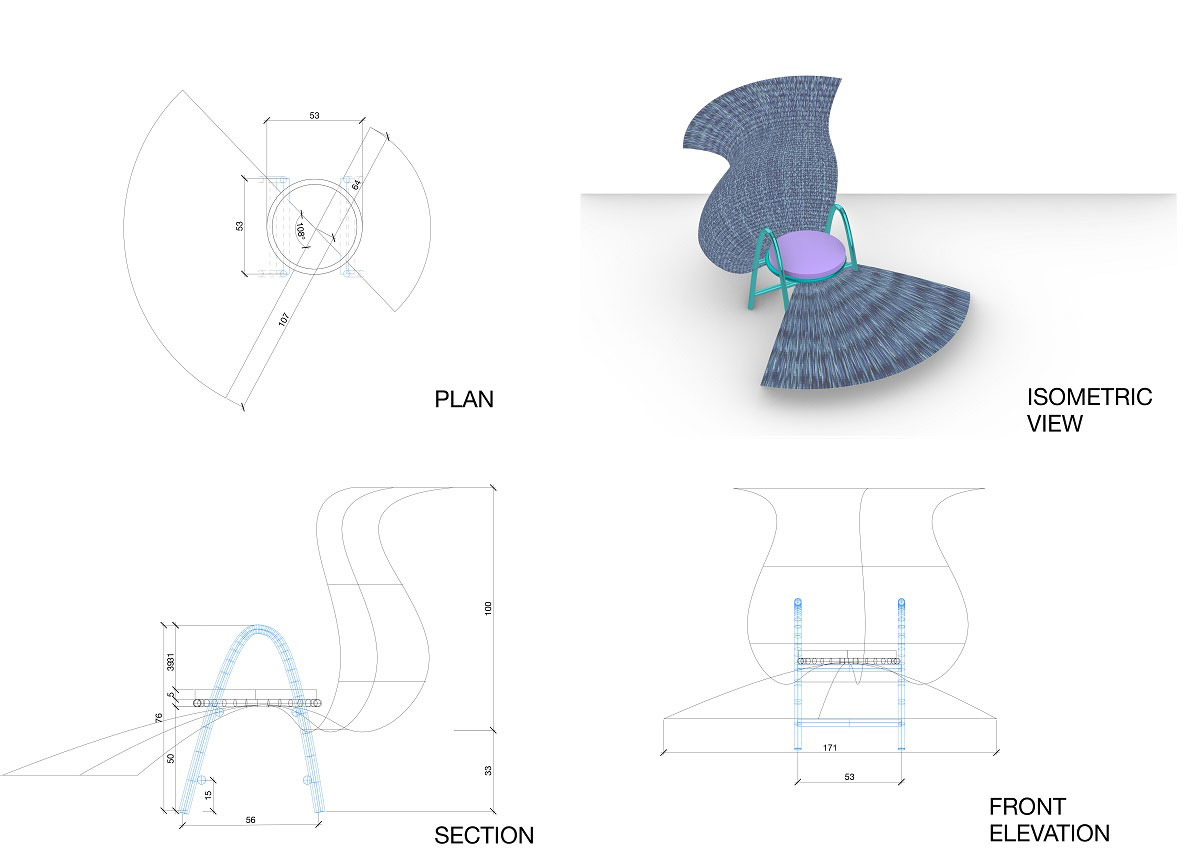
Student Name: Aanal Mehta
Tools Used:Pipe, Curve,Revolve
Applying metallic finish with a pop color. I tried the chair fabric in section first .Wanted a large curvaceous back rest with foot rest for extension. Imagined the surface as stretched fabric say Jeans material. It’s fun; the design, the form and material simultaneously.
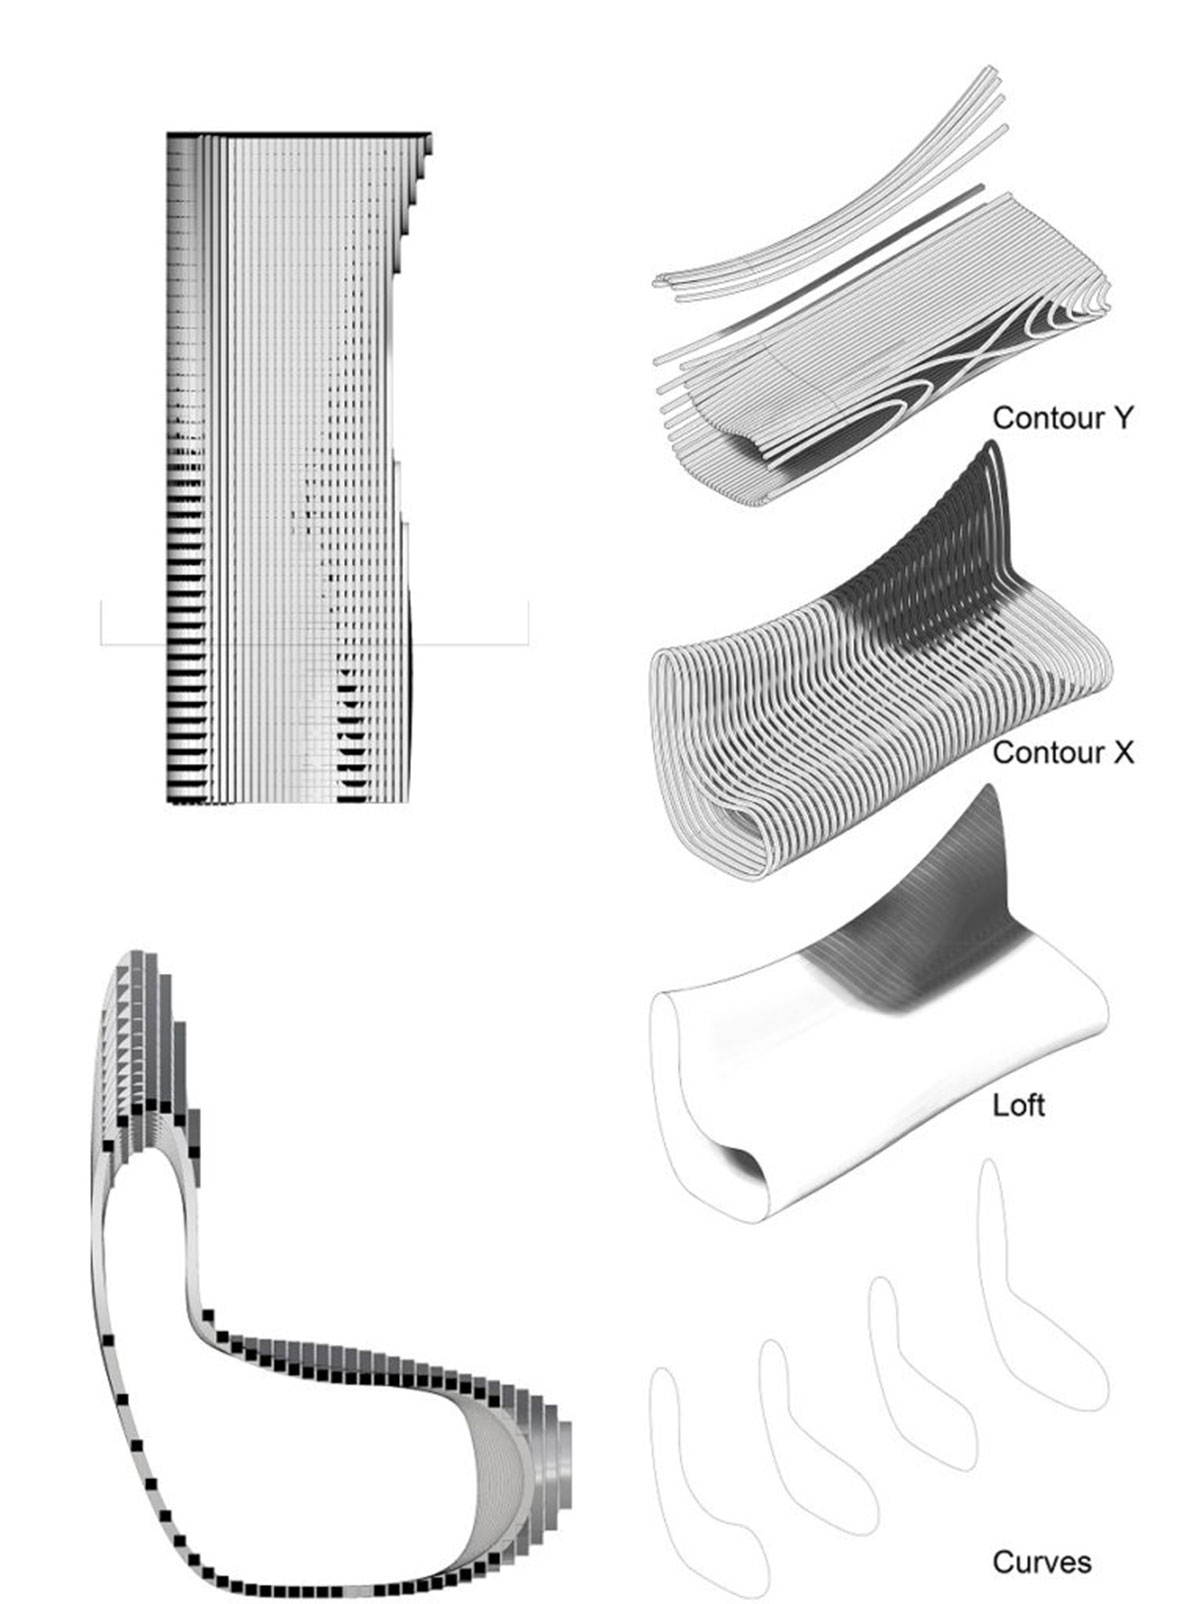
Student Name: Audarya Vivek Bansal
Tools Used: Curve, Loft, Contour.
Main Text: The following bench was created mainly using a series of cross sections, lofting them and then using the contour command. Once modelled, rendering and presentation techniques, as shown during the class were then used to represent and compile the idea in order to communicate the intent clearly.
To Register for “Advanced Computational Design” Please visit our website.
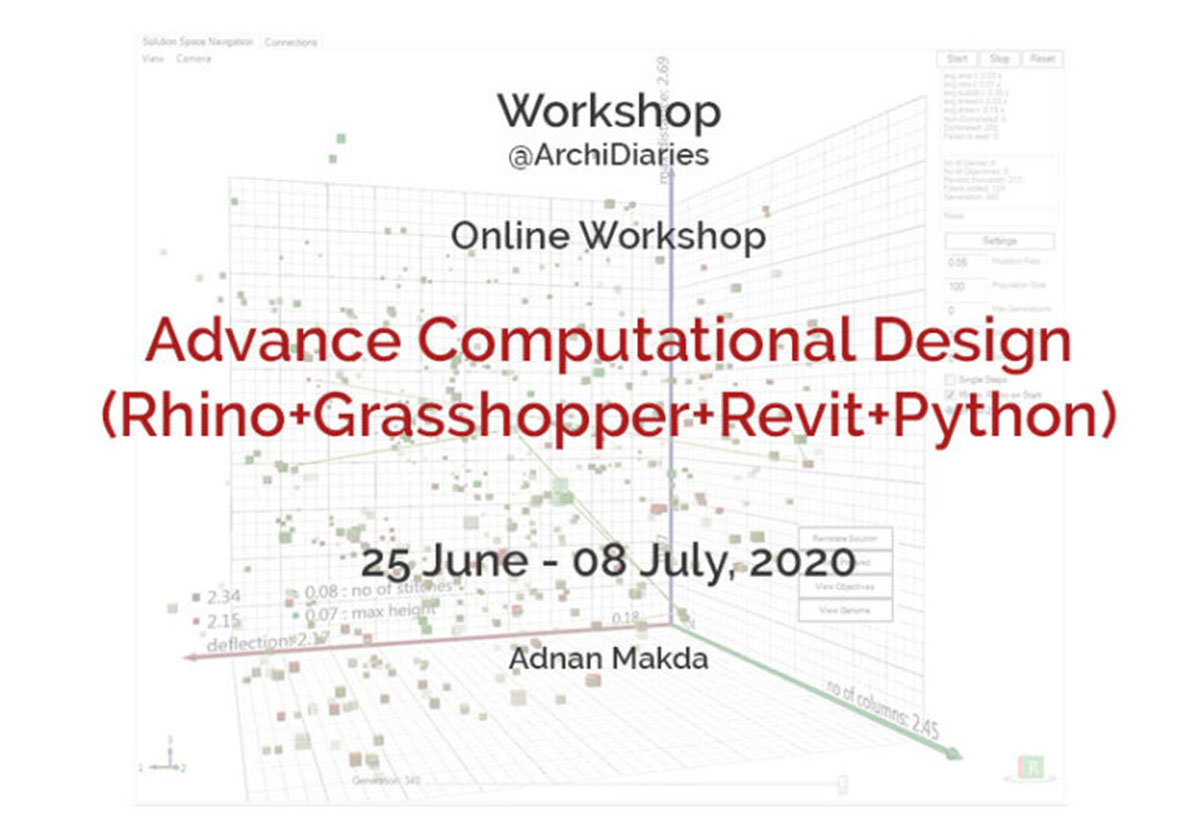
More Workshops @ArchiDiaries
Images